Monday, September 3, 2012

How Rugs & Place Mats Can Teach Children Order & Personal Space

In educational settings where children are learning with individual & small-group based material, particularly in Montessori learning environments, you may find children utilizing small roll-up rugs, carpets and sometimes placemats.  So what do we use them for?  Here are some benefits I have seen while working in Montessori settings for ages 1.5 through 6:

Help keep the Learning Environment Tidy by Defining Personal Space
Offering roll-up rugs for the floors and placemats on the tables for children to place their work on can help the room stay neat and tidy.  This also helps a young child define personal space as other children learn not to grab from other's work space or walk on someone's rug.  I've also seen less children tripping or getting hurt as they begin to recognize where it is safe to walk, instead walking through an obstacle of scattered toys and materials on the floor.  Once a storage location in the room is determined, the child is taught to return the rug or placemat just the way they found it (after given a lesson on how to do so).  We keep our rugs in a floor basket and  placemats in a basket on a shelf that the children can reach.  The placemats and rugs below were rolled by ages 1.5-2.5.  We just started the school year two weeks ago and our students have adapted quite well to this approach.  

Placemats are offered to children to place their work on when they choose to work at a table.

Small roll-up rugs are offered for children to place their work on if they choose to work on the floor.

Build Fine Motor Skills
Lessons are given to the children on how to carry mats and rugs, how to roll them out, roll them back up, and return them to the bin.  When lessons are given carefully and thoughtfully, you give the child time to process and notice details.  This can really be a challenge for young children and it is okay if they do not perfect it right away.  Just let them do it the best they can at first and don't discourage them or point it out so much if they aren't rolling them perfectly.  Lessons during circle times or small groups may need to be given multiple times throughout the school year to help remind children the best way to care for them.  Your students will have plenty of opportunities to practice throughout the day as they choose different material to work with.  If you are interested in how a lesson like this might be presented, I found this video where a woman is showing a student how to roll a rug.  It's a little bigger than the kind of rugs we use in our room, but it gives the child time to notice the woman's careful finger work:

There are some additional details you can point out when rolling a rug, for example, take note of what happens when a rug is not rolled evenly.  Sometimes you can simply pat either end of the rolled up rug if it is not too uneven.  

Learn to Create Order & Build Organizational Skills
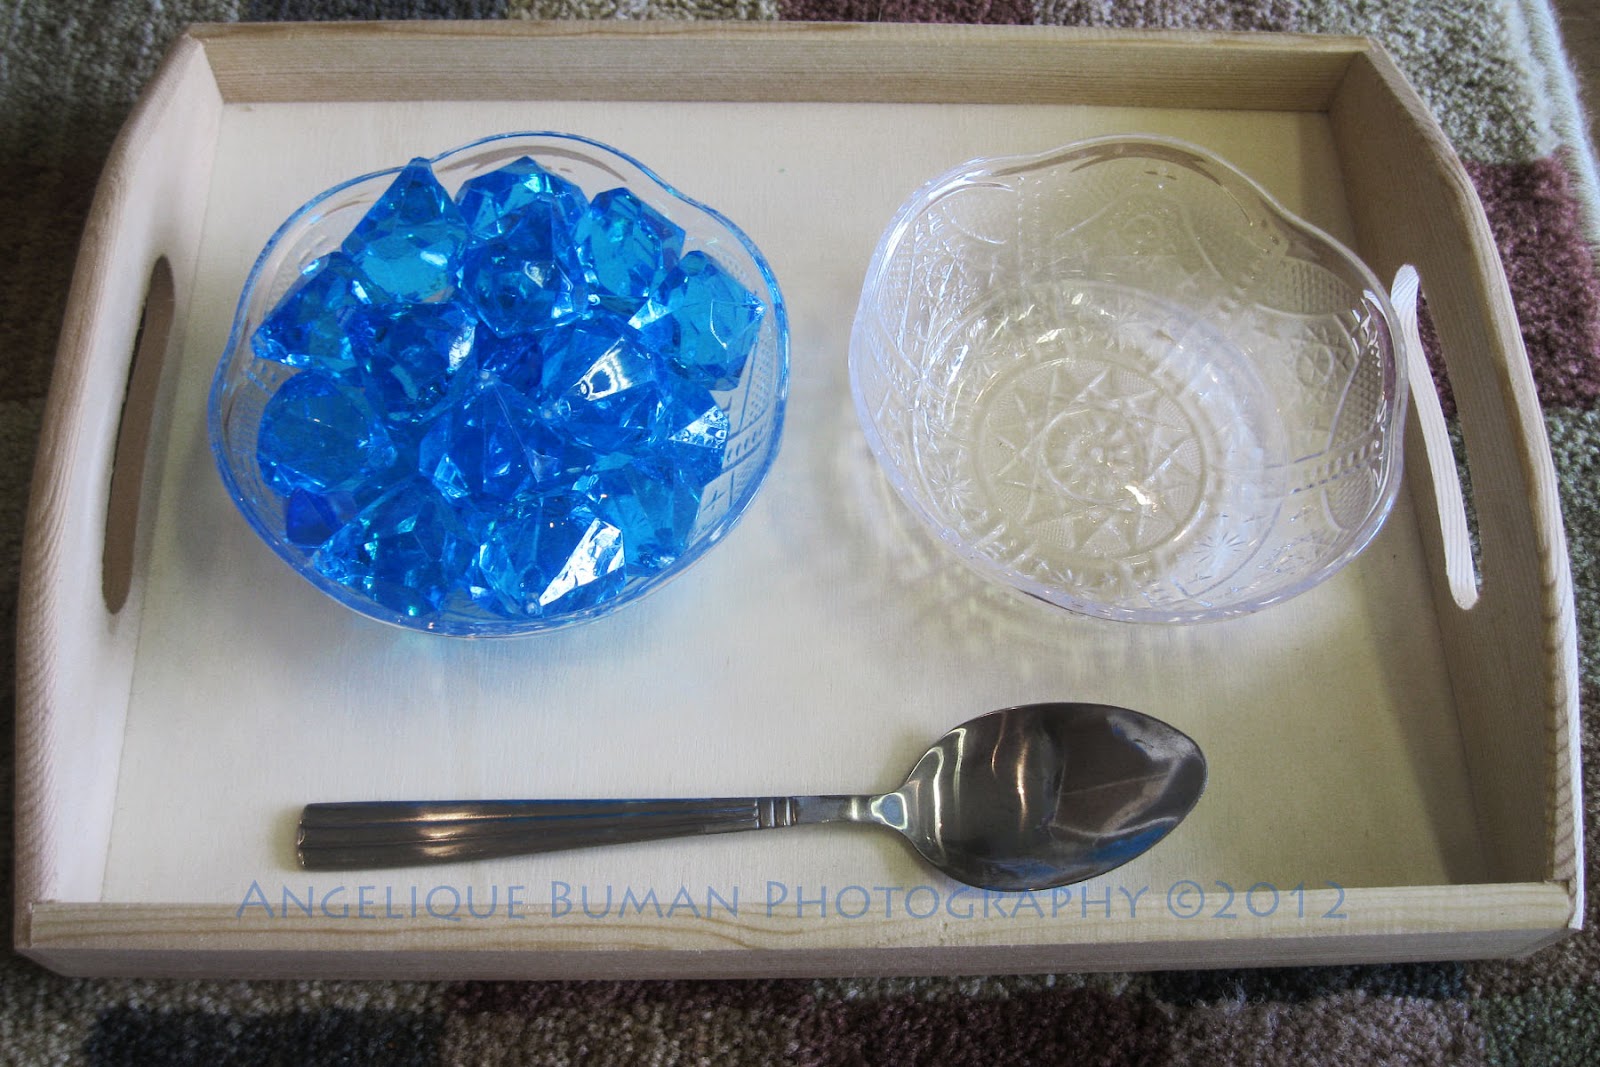
In our Montessori Studio, the teachers show the children lessons on a variety of work material that they may take from the shelves and bring to their table mat or rug to work on.  They begin to learn order as we typically show them how to lay out material from left to right, or by taking out the items that we will be using first.  For example, if there are matching cards, they might be shown to place the first set of cards, one at a time from left to right, in a straight order.  When the children are shown how to carefully utilize the work from left to right or by placing the work in the order that you would use the material, they are learning organization and order, which will also begin to help them when it comes to reading and writing (as in most countries we learn to read and write from left to right).

A child using a placemat to keep her work on at the table

A child using a rug to lay out matching cards from (her) left to right

Thanks for reading.  Please feel free to comment & ask questions!

~Angelique

Wednesday, August 29, 2012

Basic Transferring Activities for Children's Fine Motor Skills

Here are some photos I recently took of some of my very basic transferring activities that I have prepared for children who are recently just beginning to do transfers in our Montessori classroom.  They are having a lot of fun with this work and my co-teacher and I are already seeing a lot of progress in concentration and coordination.  Typically this work is great for ages 2 through 6, but older children can also benefit from it, especially if they have never been given the opportunity.  If you are interested in making your own material, most of the material in the images can be found at your local craft stores, dollar stores, and bargain stores.  If you are new to this concept and interested in learning more about preparing your own material, I have shared some additional information at the end of this post.  

For beginners who are just learning to grab, try some big bells to add a jingle to the work.

The children enjoy the "ting" sound that the plastic crystals make when transferring into a glass dish.  

Add more crystals and change out dishes to add new interest to the material.

Adding dry food to the mix seems to help kids feel productive, as if they are helping out in the kitchen.  

Change up the bowls and offer different sized beans and spoons to challenge the children.

Once children have mastered transferring one bowl to another with a spoon, you could add two smaller dishes for them to work on dividing up the objects.  

About Transferring
 For those who are hearing about this for the first time, transferring activities are great for children to start building fine motor control for specific skills.  While the process helps children to focus and gain coordination and control, they will also gain skills that will benefit them as they begin to learn more complex tasks such as writing, caring for themselves and the environment.  There are countless activities for transfers that often include different variations of transferring small objects from one bowl to another.

In a Montessori classroom, there is a strong principle that Maria Montessori called the "control of error."  After repeating the activities over and over again, children often learn to correct themselves on their own.  To learn more about "control of error" and other Montessori terms, click on the link below to a great website on Maria Montessori and her methods:

Lessons are often provided to children first before the child does certain transferring activities on her or his own.  The teacher shows the child how to do the transfer, returning everything back to the original dish. The lesson is done slowly and carefully to allow the child time to observe. Below is a tutorial video I found that is a great example of how one transfer lesson is carefully demonstrated. 

Thanks for tuning in.  Feel free to let me know if you have any questions or comments.

~Angelique

Sunday, August 26, 2012

Simple Activities for Kids Offer Opportunities for Growth

Expensive material and excessive amounts of toys can be good for motor skills and sometimes for learning, but it's not the only answer to educating young children.  Besides, not every school, daycare program and educator can afford to offer abundant amounts of toys.  But that does not mean we educators cannot offer children opportunities to have fun with education.  Sometimes a child can show more appreciation for simple material and activities that are not necessarily considered toys.  There are so many life-skill activities out there that offer endless opportunities for children to learn and grow.  And say you do work at a school that has a large budget-- It can actually be worth spending money on more intricate and unique material than the popular tinker toys and the latest plastic cubby system to keep them in.  Sometimes offering smaller proportions of individual based work can really help a child to focus on exploring, focusing on and perfecting the activity.  For example, there is no need to offer hundreds of Legos or blocks to one child when they can be just as absorbed when given a handful.  Of course, children need to work on social skills too, so be sure to offer a number of activities for 2 or more children in addition to individual activities.  I have posted just a few activities that I have used in my classrooms below.  These are mostly ideas that have already been presented through the Montessori Method of teaching, but they are universal activities that many other educators have adopted.  If you are interested in actual Montessori lessons and presenting material in this method, there is information all over the web (if you just Google Montessori lessons or search on Pinterest!).  Below are some basic ways that anyone can use and create material in nearly any educational setting.  

Geometric Solids Activities

Here, we offered just a small bag full of geometric solid shapes for one child to work on.  Present items like this in a pretty bag or nice basket to draw interest to the material.  Depending on what you want the child to learn, you could allow the child to build constructively with the material, and/or offer them matching cards of each geometric shape.  If you have the opportunity to sit with the child, you could start teaching them the names of each geometric solid.  You could photograph the shapes and make your own matching cards by laminating them.  If you are interested in purchasing Montessori cards, this website shows examples of what a Montessori educator might use:  3 Part Geometric Solid Cards.  If you are interested in purchasing the actual Montessori geometric solids, here is a link (just scroll down and you will see them in the color blue): Montessori Material

Sifting Activities


This activity is always a hit with ages 2-6.  Here a child is sifting through the sand, trying to remove the larger objects in the mix.  You could add beans, seeds, corn kernels, or beads, but be sure to follow your program policies as some of this material may be considered a choking hazard and not acceptable.  Give a lesson first, slowly, quietly and carefully.  To present this material, place two bowls on a tray, the first bowl filled with sand mixed with the larger objects. In the second bowl, the sifter can be placed.  Carefully demonstrate how to scoop with the sifter, shake out all of the sand and then dump the remaining objects into the empty bowl.  Once all of the objects are removed, pour them back into the dish with the sand (while using both hands to pour if you want to emphasize on being careful not to spill).  A spoon could be added to the tray for the child to mix up the objects in the sand, preparing it for the next child, or they can simply repeat the activity.  You can make your own variations of any of the work presented here.  In the Montessori Method, this would be considered a "practical life activity" as it is helping build fine motor skills, order, as well as the multiple uses of a sifter.  We find that the more carefully, slowly and thoughtfully you present the lesson, the less likely the child will use it improperly (like putting objects in their mouth).  

Magnet activities

Offer a dish of magnets for a child to explore on their own just how magnets work.  You could demonstrate a simple lesson on how to use them, showing the child how magnets can push away or pull toward each other.  However, a lesson may not be completely necessary if you would rather have your students discover these things on their own.  You don't need to explain the science just yet, but feel free to make extensions of this lesson if a child is ready to learn more.  A fun extension we use in the Montessori Classroom is to have a variety of magnetic and non-magnetic objects in a container. For example, you might have a paperclip, wooden cube, rubber duck, refrigerator magnet, sea shell, and a large bolt or screw. Offer one large magnet and two dishes so that the child may sort through the material by placing nonmagnetic materials in one dish and magnetic materials in the other dish.  You could also extend this activity with name cards to label the items as magnetic and non-magnetic, depending on what the children seem ready for.  Here is a website I found on the magnetic/non-magnetic activity I just explained: magnetic & nonmagnetic activity

World Map Books & Traveling Maps

Even our toddler class loves a good book of maps.  Kids love to pretend to be navigators and offering them maps is a great way to explore.  If you have any old National Geographic magazines laying around, flip through them for maps that the children can unfold and lay out on the floor. Young children don't need to understand the details of the map right away, but you might want to point out just a couple details like roads, rivers and mountains to help them to start noticing all of the different symbols.  Magnifying glasses can be offered so that the children can take a closer look.  I have especially noticed that children in my classes have enjoyed this activity while working groups of 2 or 3.  We have a small globe in addition that the kids also enjoy.

Peg Board Activities

There are all sorts of activities a child can do with a peg board.  Depending on what kind of peg board you can find (sometimes found at craft shops or you could make your own with a board and nails), you could have the child put beads and rings on the pegs, or elastic hair bands (like the child in the above photo).  Kids in my previous classes have really enjoyed the elastic bands as they work to stretch the bands across the board in different ways.  This is a great activity to work their fine motor skills.  Again, please check with your program policies before offering this material and give a lesson as it will help discourage poor behavior

Hand Broom & Dust Pan Activities

Oops!  A child accidentally spilled the sand sifting work, but it's no big deal, because he can help clean the mess with a hand broom and dust pan.  This is certainly not an easy task, but if you just offer the material for the child to try, it will likely help the child to feel helpful and more responsible.  If the child does not sweep everything up, encourage them that it's okay as this takes lots of practice and children could easily be discouraged with too much pressure.  This is a great lesson for caring for one's environment and there are some simple extensions you can offer a child to help with their coordination.  If you are interested in a Montessori extension, I found a great blog that shows the steps on how to prepare for an activity:  http://elainengfriis.blogspot.com/2011/08/montessori-acitivity-swiping-with-brush.html

In our studio, we also have a child-sized broom and mop.  The kids especially love to clean their own water spills with the mop.  

Thank you for tuning in to learn new ways to help educate today's young pupils.  

~Angelique

Sunday, July 29, 2012

Lesson on Saturn Followed by a Fun Craft For Kids


An educational lesson followed by a craft activity that ties in really helps the lesson to sink in.  On the topic of planets, here is a fun group activity I presented this summer to a class of ages 2.5 through 6.  For this activity, I flipped through library books to show the children imagery of the real Saturn. I explained how things aren't always what they seem to be in a far-away picture and by taking a closer look, we can see that Saturn's rings aren't solid and that they are made up of ice chunks, rocks, dust, and so forth.

This activity focuses on a close-up of Saturn's rings.  The children enjoyed cutting up "ice chunks, rocks and dust particles" out of strips of craft paper.  

You may have to prepare a few things before the children can begin:

Cut out circles from construction paper, about the size of an outer rim of a soup bowl.  Then cut out an elipse shape that is about the entire length of a piece of construction paper.  Fold the elipse in half, and cut a slit from the center fold, 2 or 3 inches down.  Open it up and make sure one of the circles can fit through it (see image below) Cut out a couple of long strips of scrap paper with a width a little less than an inch.  We used some funky animal print paper to make things colorful and abstract.  I rarely measure things out and just cut things out freehand, so hopefully the images help!  Below, I added glue ahead of time, but you can always have the kids do that as well.  

Offer scissors to each child to cut the strips into "ice chunks, rocks and dust," or simply tell them to tear the paper up if they are not quite ready for scissors yet.  Have them place their chunks on the glued surface of the ellipse, offer colored pencils and/or chalk for Saturn, then slide it half way through the ellipse, add some glue or tape to keep it in place and there you have it.

The kids had lots of fun trying to make their planet look original by using different colored scraps and construction paper.  If you want to teach some more basics about Saturn and any other planets, here is a great kids site that I recently came across: 


Pattern Dice Game for Ages 4 and Up. Easy to make!

I came up with this game for kids in the classroom who have shown interest in playing with dice and counting numbers.  It is a fun two player game where each child takes turns rolling dice of two different colors that color coordinate with small tiles to ultimately make a pattern of colors on a grid.  This is a great game that is not competitive as each child works together to create a colorful and original design or pattern on the grid.

What You Need:
-2 to 3 different colored sets of tiles or chips, 10 to 20 of each color
-2 or 3 dice, each matching in color of a set of tiles or chips.
-A ruler
-A pencil and pen
-A piece of paper
-Glue
-A durable board of your choice (you could use cork board, cardboard, masonite, etc.)
-A container to hold the tiles in
-A small tray to roll the dice in
-Optional: 2 popsicle sticks
-Optional- Clear tape or laminate paper
-Optional: A piece of fabric such as felt to put on the tray so that the dice will settle nicely when rolled

How To Prepare:
Randomly Lay out all of the tiles a piece of paper to make a square or rectangular shaped grid.  I made a rectangular grid by placing 5 rows of 8 tiles, like the sample below.  You may use all of the pieces, or leave some out.  It won't make a big difference in the game.

Make marks and measurements with the pencil and ruler, remove the tiles and draw up your grid.  You can use a pen or sharpie to draw over the pencil marks when you are done.  If you don't want to trace over your pencil marks, you can always put clear tape or laminate paper over top of it, so it doesn't get smudged.  Cut your grid out, glue and center it on your durable board.

How To Play:
The first child rolls the two (or three) colored dice and drops them on the tray.  Without flipping the dice over, the child may carefully place each dice next to each other in the top corner of the tray or on the surface area beside the tray (Optional: you can offer a separate tray for the dice).  He or she may then count out the amount of tiles that matches the color and number each dice.  They may place these tiles anywhere they wish on the grid.  A popsicle stick may be used to help straighten out their tiles on the board.  It is now the next child's turn.  Repeat the above steps until the entire grid is filled up.

My students like me to take pictures of their pattern art when they have finished a session, and enjoy seeing their original images later.  To keep things fresh, you can add more dice or change the colors of the tiles/shape of the grid.  You may also add players to this game to change things up.  If you try this out, please let me know if you have any questions or if you found something that worked better for you!  


Sunday, June 17, 2012

Think Smart with Weekly Themes (Ages 3 through 6)

There is a lot of flexibility at the Summer program I work at, and there's lots of room for creativity.  I get to collaborate with a team of creative teachers who love to do crafty activities with the children.  From arts and crafts, movement and dance, and other fun activities and lessons, we have a blast with the kids.

We find at our school that weekly themes work great for Summer Camps.  For me, I find that themes can be successful and productive as long as you step up the education from what might be offered some typical day cares and preschools.  I only say that because I have worked at one before, and there really wasn't much to the curriculum, at least to me.  I had to take it upon myself to make the most of it, which I think many good teachers do.  I know there is good reasoning for keeping things very simple and standard with lesson plans, but I find that the more we teach the children using creative approaches, the more opportunity we are giving them to explore, learn and think for themselves.  Many modern educators agree that children don't always have to understand everything you are teaching them, as long as they are having a positive experience in the process.  For example, if the theme is "Outer Space," you might explain to the children what a star is actually made of, followed by real imagery of stars, instead of simply showing them the most popular 5 pointed icon.  Maybe a giant ball of gas won't make much sense to a 3 year old, but when they see that stars come in all different sizes and colors, this can seem really magical.  And who knows, this positive experience might spark a real interest in later years when studying the galaxy in a science class.  So before you follow a very standard curriculum for weekly or monthy themes, think about how you can step up your themes by introducing more information in a fun and exciting way.  I find that teaching more topics on real facts is beneficial to me to.  It helps me to brush up on old subjects I learned way back and often times, I am learning something new, too.

Some references that may help you to "step up" the education are right at your fingertips with the internet.  Here is a fun website that will start giving you ideas about topics to start looking up:
http://www.brainpop.com/science/seeall/  

Wednesday, June 6, 2012

Save the Cardboard Lids from Your Pizza Boxes for Art Activities

As you know, typically pizza boxes cannot be recycled, because of all of the grease left behind, but more often than not I find that the lid is usually clear of any grease.  So whenever we have a pizza day at our school, I started cutting the lids off and collecting the cardboard for art projects.

The lids can be good for the kids to paint on, use as a base for clay models, etc.  So the next time you have pizza, cut the lid off before tossing the entire box in the trash.

If you are concerned there still might be some hidden grease, you could always paint a gesso base over top of the lid (the white paint that is painted on fresh artist canvases) and let it dry before handing it over to the kids to paint on.  

Thursday, April 26, 2012

Jars, Containers and Lids used to Create a Fine Motor Skill Activity for Kids


Age level: 1.5 through 6.

Take different sized Jars and Containers with lids, put them on a tray or basket, and offer this simple activity to your classroom.  Step by step, show the children how to open the jars and containers and then show them how to put the lids back on each one.  When putting the lids back on, it helps to have one hand holding the jar down and the other hand twisting or pressing the cap down. This is great for children's fine motor skills and they really enjoy these simple kinds of work.  

This was a lesson that I came across while studying and teaching the Montessori Approach.  The idea was presented and got me thinking of some extended ways to keep it fresh:

Rotate the containers and jars and present them in different ways to spark new interest.  Remove or keep the labels on recycled jars, or create your own labels, perhaps to teach about colors.  In addition, you can have an item in each Jar that the child may take out and play with before putting the object back in.  For example, a block or a couple Legos can be placed in each jar for the child to build with before putting them back in the jars.  To teach children about color, color coordinate the jar labels to the colors of blocks or Legos.  For children ages 2 through 4, it might be best to keep the work simple as the more steps they have the harder it is to remember and to follow through.  Older children from ages 4 and up might enjoy more steps to work.  You could incorporate language by labeling each jar with a letter from the alphabet and add small objects in each jar that begin with that particular letter.  The child may take out each object and play with them, and when it is time to clean up the items, that child will be challenged to think about which letter each object begins with.

I suggest keeping it simple and starting with the easiest types of containers for the young children to simply gain the concept of putting lids on.  Later, you can always add more jars and containers that are a little trickier to put back on, followed by any extensions that will challenge them.

Monday, April 9, 2012

Dig Through Your Recycling Bins for Material You Can Use for Your Classroom!


I was given a hard time by friends and family for hoarding things, but once I proved them wrong, some of them started following my footsteps.  Now, as many of you educators know, it is helpful to collect these items as they will certainly be useful.  Jars, containers, and even cardboard could be enough to start building your own classroom.  Just try to be as organized as you can about it and keep this "junk" out of other people's sight until you are ready to use it.  I have proven over and over again that saving recyclable items can be very useful in the classroom.

Just a few ideas off of the top of my head include:
-Using Cans for messy art activities to hold paint brushes, water and paint
-Using containers to separate small items for art projects and activities such as beads, stones and shells
-Cans and yogurt containers can be used to hold crayons and colored pencils

These are all common sense ideas that many educators already use, and there are so many more ideas all over the web.

Saving these items can also be useful around the house.  I will likely be posting some ideas on my blog below:

 DIY Sweet 'N Simple with Angelique

 Stay tuned and start collecting.

I have lots of fun ideas that I will be sharing here.

Saturday, March 24, 2012

Welcome Educators!

Hello Educators!

 I have so many ideas, concepts and information to share with everyone and I'm excited to get started.  The information I will post here are techniques that have been successfully used in my classrooms.  I love sharing ideas, especially if it will help educate today's youngsters, so please feel free to try these ideas out and let me know how it worked out.  That being said, I am also interested in sharing ideas that I have learned from other educators.  So go ahead and comment, make suggestions, or share your ideas here, as I am always looking to improve and share new things with the kids.

Stay tuned for new and creative ways to educate your children.


Enjoy!

~Angelique Buman