Expensive material and excessive amounts of toys can be good for motor skills and sometimes for learning, but it's not the only answer to educating young children. Besides, not every school, daycare program and educator can afford to offer abundant amounts of toys. But that does not mean we educators cannot offer children opportunities to have fun with education. Sometimes a child can show more appreciation for simple material and activities that are not necessarily considered toys. There are so many life-skill activities out there that offer endless opportunities for children to learn and grow. And say you do work at a school that has a large budget-- It can actually be worth spending money on more intricate and unique material than the popular tinker toys and the latest plastic cubby system to keep them in. Sometimes offering smaller proportions of individual based work can really help a child to focus on exploring, focusing on and perfecting the activity. For example, there is no need to offer hundreds of Legos or blocks to one child when they can be just as absorbed when given a handful. Of course, children need to work on social skills too, so be sure to offer a number of activities for 2 or more children in addition to individual activities. I have posted just a few activities that I have used in my classrooms below. These are mostly ideas that have already been presented through the Montessori Method of teaching, but they are universal activities that many other educators have adopted. If you are interested in actual Montessori lessons and presenting material in this method, there is information all over the web (if you just Google Montessori lessons or search on Pinterest!). Below are some basic ways that anyone can use and create material in nearly any educational setting.
Geometric Solids Activities
Here, we offered just a small bag full of geometric solid shapes for one child to work on. Present items like this in a pretty bag or nice basket to draw interest to the material. Depending on what you want the child to learn, you could allow the child to build constructively with the material, and/or offer them matching cards of each geometric shape. If you have the opportunity to sit with the child, you could start teaching them the names of each geometric solid. You could photograph the shapes and make your own matching cards by laminating them. If you are interested in purchasing Montessori cards, this website shows examples of what a Montessori educator might use:
3 Part Geometric Solid Cards. If you are interested in purchasing the actual Montessori geometric solids, here is a link (just scroll down and you will see them in the color blue):
Montessori Material
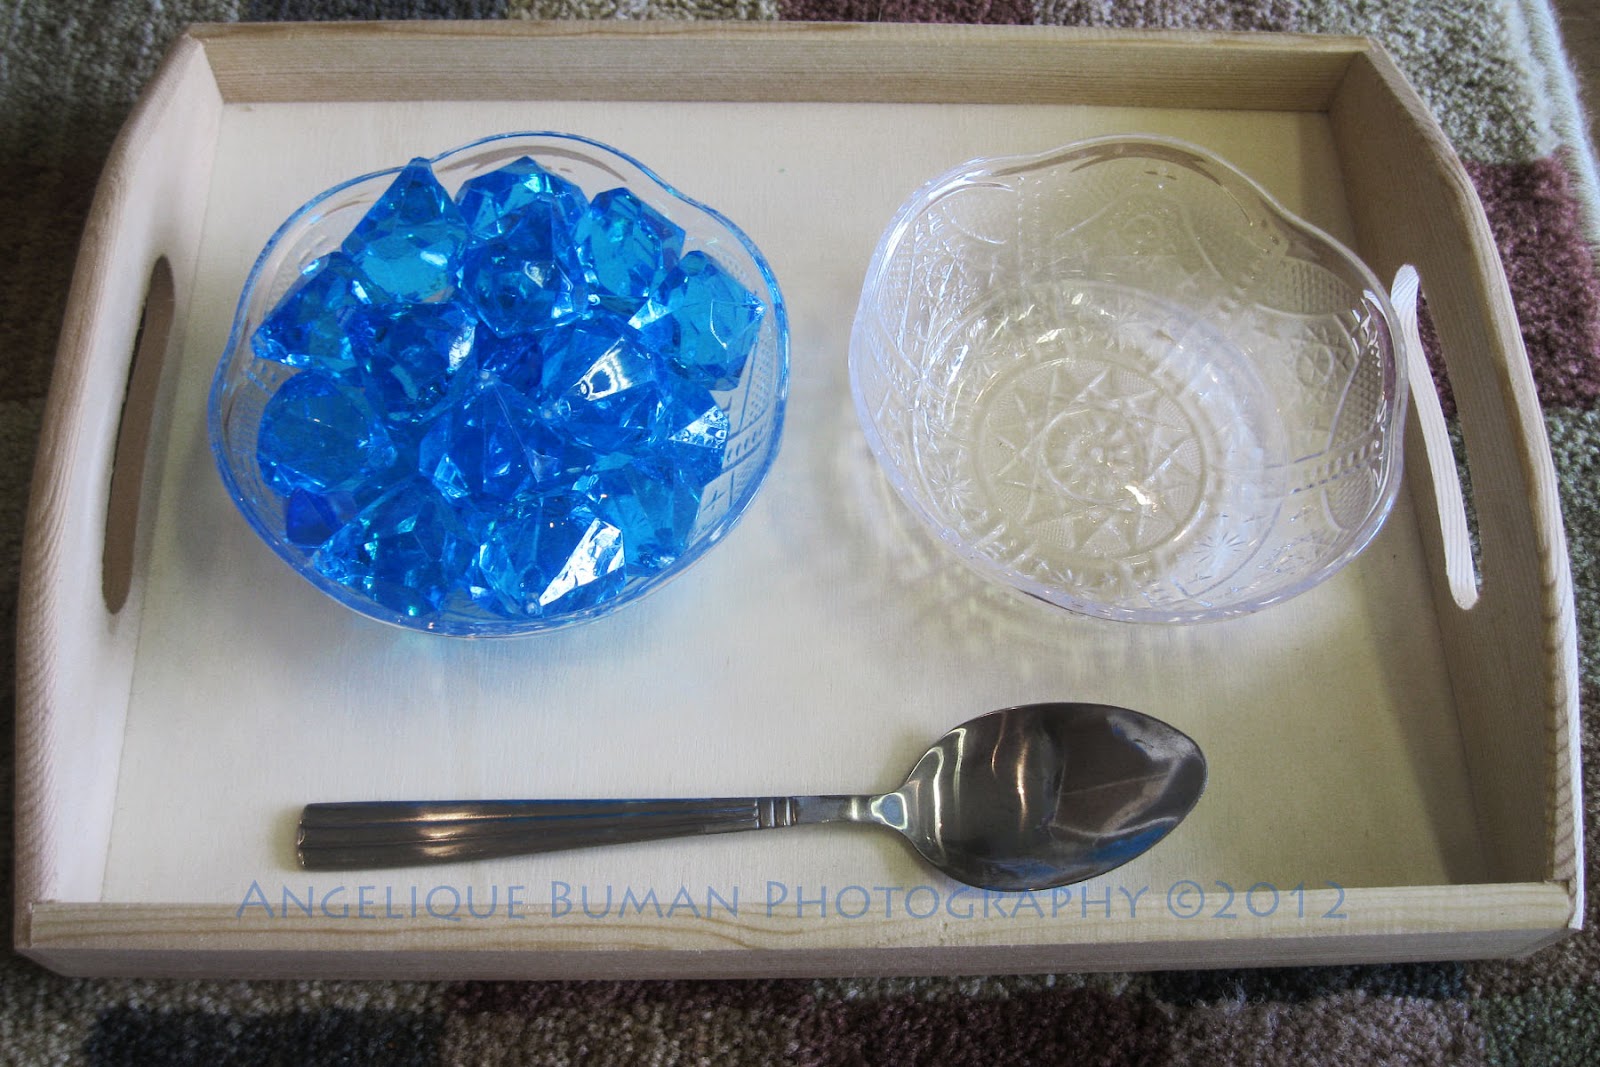
Sifting Activities

This activity is always a hit with ages 2-6. Here a child is sifting through the sand, trying to remove the larger objects in the mix. You could add beans, seeds, corn kernels, or beads, but be sure to follow your program policies as some of this material may be considered a choking hazard and not acceptable. Give a lesson first, slowly, quietly and carefully. To present this material, place two bowls on a tray, the first bowl filled with sand mixed with the larger objects. In the second bowl, the sifter can be placed. Carefully demonstrate how to scoop with the sifter, shake out all of the sand and then dump the remaining objects into the empty bowl. Once all of the objects are removed, pour them back into the dish with the sand (while using both hands to pour if you want to emphasize on being careful not to spill). A spoon could be added to the tray for the child to mix up the objects in the sand, preparing it for the next child, or they can simply repeat the activity. You can make your own variations of any of the work presented here. In the Montessori Method, this would be considered a "practical life activity" as it is helping build fine motor skills, order, as well as the multiple uses of a sifter. We find that the more carefully, slowly and thoughtfully you present the lesson, the less likely the child will use it improperly (like putting objects in their mouth).
Magnet activities

Offer a dish of magnets for a child to explore on their own just how magnets work. You could demonstrate a simple lesson on how to use them, showing the child how magnets can push away or pull toward each other. However, a lesson may not be completely necessary if you would rather have your students discover these things on their own. You don't need to explain the science just yet, but feel free to make extensions of this lesson if a child is ready to learn more. A fun extension we use in the Montessori Classroom is to have a variety of magnetic and non-magnetic objects in a container. For example, you might have a paperclip, wooden cube, rubber duck, refrigerator magnet, sea shell, and a large bolt or screw. Offer one large magnet and two dishes so that the child may sort through the material by placing nonmagnetic materials in one dish and magnetic materials in the other dish. You could also extend this activity with name cards to label the items as magnetic and non-magnetic, depending on what the children seem ready for. Here is a website I found on the magnetic/non-magnetic activity I just explained:
magnetic & nonmagnetic activity
World Map Books & Traveling Maps
Even our toddler class loves a good book of maps. Kids love to pretend to be navigators and offering them maps is a great way to explore. If you have any old National Geographic magazines laying around, flip through them for maps that the children can unfold and lay out on the floor. Young children don't need to understand the details of the map right away, but you might want to point out just a couple details like roads, rivers and mountains to help them to start noticing all of the different symbols. Magnifying glasses can be offered so that the children can take a closer look. I have especially noticed that children in my classes have enjoyed this activity while working groups of 2 or 3. We have a small globe in addition that the kids also enjoy.
Peg Board Activities
There are all sorts of activities a child can do with a peg board. Depending on what kind of peg board you can find (sometimes found at craft shops or you could make your own with a board and nails), you could have the child put beads and rings on the pegs, or elastic hair bands (like the child in the above photo). Kids in my previous classes have really enjoyed the elastic bands as they work to stretch the bands across the board in different ways. This is a great activity to work their fine motor skills. Again, please check with your program policies before offering this material and give a lesson as it will help discourage poor behavior
Hand Broom & Dust Pan Activities
Oops! A child accidentally spilled the sand sifting work, but it's no big deal, because he can help clean the mess with a hand broom and dust pan. This is certainly not an easy task, but if you just offer the material for the child to try, it will likely help the child to feel helpful and more responsible. If the child does not sweep everything up, encourage them that it's okay as this takes lots of practice and children could easily be discouraged with too much pressure. This is a great lesson for caring for one's environment and there are some simple extensions you can offer a child to help with their coordination. If you are interested in a Montessori extension, I found a great blog that shows the steps on how to prepare for an activity:
http://elainengfriis.blogspot.com/2011/08/montessori-acitivity-swiping-with-brush.html
In our studio, we also have a child-sized broom and mop. The kids especially love to clean their own water spills with the mop.
Thank you for tuning in to learn new ways to help educate today's young pupils.
~Angelique