Showing posts with label toddlers. Show all posts

Saturday, February 9, 2013

Wild Animals in Africa Activity Tray


I have found this activity to be enjoyed by children ages 1.5 through 6.  A great way to learn the shapes and names of our continents is to make activity trays that teach the children something about the continent.  Learning about wild animals can be very enjoyable for the little ones.  If you are a Montessori teacher or teach at a school that recognizes continents in different colors, this is also a great way for the kids learn the colors of each continent.


What You'll Need:
-A tray
-Craft foam sheets 
-Green Felt (Or whatever color you teach with to recognize continents in your program)
-Wild Animal figures 
-A bowl or container for the figures
-Scissors
-Marker or pen
-Sheet of paper
-Tacky Glue or another adhesive that works with felt and foam sheets 

Steps:
-First, glue your sheet of felt to a foam sheet.  Let it set to dry.
-Draw up your continent on paper the best you can or have a printed copy of it and cut it out.  Make sure it is large enough that all of the animal figures will fit on the surface.
-Take the sheets that you glued together, and put the felt side face down on a table.  Lay the cut-out shape of your continent on the foam, but make sure that the image is flipped or reversed as this is the back side that will be facing down in the tray.  Trace it with a marker or pen.
-Cut it out and there you have your continent.
I chose to put the foam on the bottom of the felt, to make it a little more durable.  It also grips better to the foam surface under it.

-Take an uncut blue foam sheet and place it at the bottom of your tray to represent water.

-Add the animal figures with a container or bowl and offer it to your kids.  
-You can add labels to the continent and for the animals, especially if you are working with an older age group.

A Montessori Note on Why I Chose to Teach Africa First
For you Montessori teachers and parents, I wanted to explain my underlying reason on why I chose Africa as the first continent tray to offer my students, ages 1.5 through 3, and not North America (which is the continent we live in).  As you may know in many classrooms, it is helpful to first teach the continent that we are from. I too agree and I do talk with the children about where we live, but I tend to break things down in different ways to reach a point.  During circle times, the kids were first shown a sand paper globe to recognize land and water, and then I began showing them the most typical maps and globes where the land is all green and the water is blue.  If you know your Montessori, you know that continents on a Montessori globe are all different colors to help the child learn their continents.  Africa is the color green on a Montessori globe, and since the kids are still learning the concept of land and water, I felt that this color was best for that as they begin to recognize continents.  This age group is very visual and they respond best to real and natural imagery (such as the most natural colors on maps).  Showing them the Montessori multi-colored map would be a little harder for them to understand right off the bat, but while many of the kids have grasped a better understanding of the earth we live on, they are being introduced to the concept of the Montessori multi-colored map.  


Land & Water Sorting Tray for Toddlers

As a teacher using the Montessori Method, I often find myself teaching young children complex concepts in the simplest form.  When teaching children to understand land forms, maps and globes, we must find ways to make it fun and easy to understand.  I think about the most common and recognizable presentations and break it down into toddler terms.  For example, we know that water on most maps or globes is nearly always presented in blue and the land is typically shown in green.  This land and water sorting activity that I presented here is just one of the many ideas out there to help kids to begin thinking about the earth they live on.


There are many different ways to display a land and water sorting activity such as using actual water or photos of land and water to sort.  You can add air as a third sorting element when using photos, such as imagery of clouds and birds flying.  In general, it's good to have many different options to rotate for the kids to explore.

HOW I MADE IT:
It's simple.  I used a wooden tray from an arts and craft store, green felt for the grass and a glitter blue foam sheet for the water.  Optional: I glued the green felt to another piece of foam sheet to help keep the felt in place better.  As for the objects, I have a huge bag of sorting objects that I've collected over the years, but it's easy to find things like this at your nearest toy store or dollar store.  Some objects include fish, sea shells and trees.  On the inside wall of the tray I labeled land and water (and I added the labels on the opposite wall, so that the child is always bound to see the labels and start recognizing them as site words).


Sorting objects that are found on land or the water is a great start for a young child to start thinking about the many differences between land and water.


Thanks for reading as always!  Feel free to pin or comment!
~Angelique Buman

Wednesday, August 29, 2012

Basic Transferring Activities for Children's Fine Motor Skills

Here are some photos I recently took of some of my very basic transferring activities that I have prepared for children who are recently just beginning to do transfers in our Montessori classroom.  They are having a lot of fun with this work and my co-teacher and I are already seeing a lot of progress in concentration and coordination.  Typically this work is great for ages 2 through 6, but older children can also benefit from it, especially if they have never been given the opportunity.  If you are interested in making your own material, most of the material in the images can be found at your local craft stores, dollar stores, and bargain stores.  If you are new to this concept and interested in learning more about preparing your own material, I have shared some additional information at the end of this post.  

For beginners who are just learning to grab, try some big bells to add a jingle to the work.

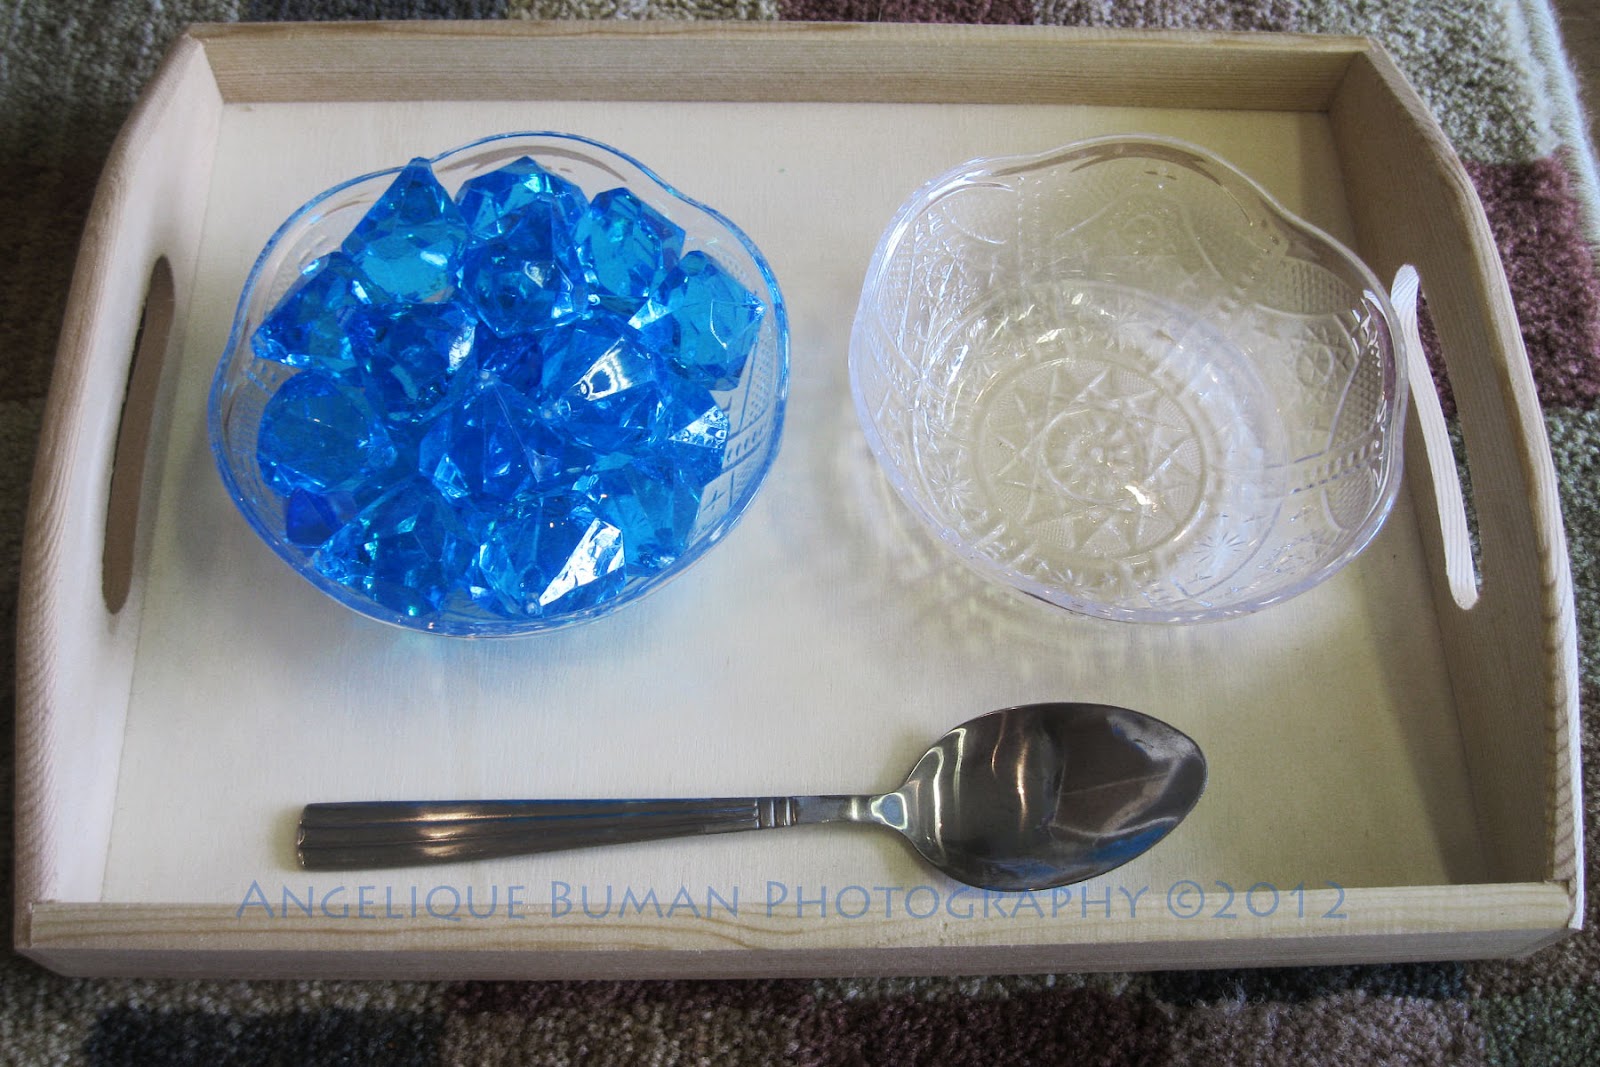
The children enjoy the "ting" sound that the plastic crystals make when transferring into a glass dish.  

Add more crystals and change out dishes to add new interest to the material.

Adding dry food to the mix seems to help kids feel productive, as if they are helping out in the kitchen.  

Change up the bowls and offer different sized beans and spoons to challenge the children.

Once children have mastered transferring one bowl to another with a spoon, you could add two smaller dishes for them to work on dividing up the objects.  

About Transferring
 For those who are hearing about this for the first time, transferring activities are great for children to start building fine motor control for specific skills.  While the process helps children to focus and gain coordination and control, they will also gain skills that will benefit them as they begin to learn more complex tasks such as writing, caring for themselves and the environment.  There are countless activities for transfers that often include different variations of transferring small objects from one bowl to another.

In a Montessori classroom, there is a strong principle that Maria Montessori called the "control of error."  After repeating the activities over and over again, children often learn to correct themselves on their own.  To learn more about "control of error" and other Montessori terms, click on the link below to a great website on Maria Montessori and her methods:

Lessons are often provided to children first before the child does certain transferring activities on her or his own.  The teacher shows the child how to do the transfer, returning everything back to the original dish. The lesson is done slowly and carefully to allow the child time to observe. Below is a tutorial video I found that is a great example of how one transfer lesson is carefully demonstrated. 

Thanks for tuning in.  Feel free to let me know if you have any questions or comments.

~Angelique